Gluten Free, Low Sugar Choc Chip Peanut Butter Cookies

I hate to admit it, but I’m an emotional eater. Even the slightest bit of stress triggers my sugar cravings. This is one of the main reasons behind experimenting with sugar-free or low-sugar treats – so I don’t have to punish myself or feel incredibly guilty if I do give into the cravings.

I never used to like peanut butter – I mean I still wouldn’t eat it out of the jar – but I’ve used it a lot in Asian-style cooking and decided to try baking with it too. The majority of commercial peanut butters contain a lot of crap – high in sugar, fat and oil. I decided to try a healthier, low sugar option and I found that Mayver’s Smooth Peanut Butter ticked all the boxes. It’s all-natural with no added sugar (only 0.8g of sugar per 1 tablespoon) and dairy, gluten and cholesterol free. PLUS it was the same price as most of the standard peanut butters so it just made sense!

A delicious alternative!

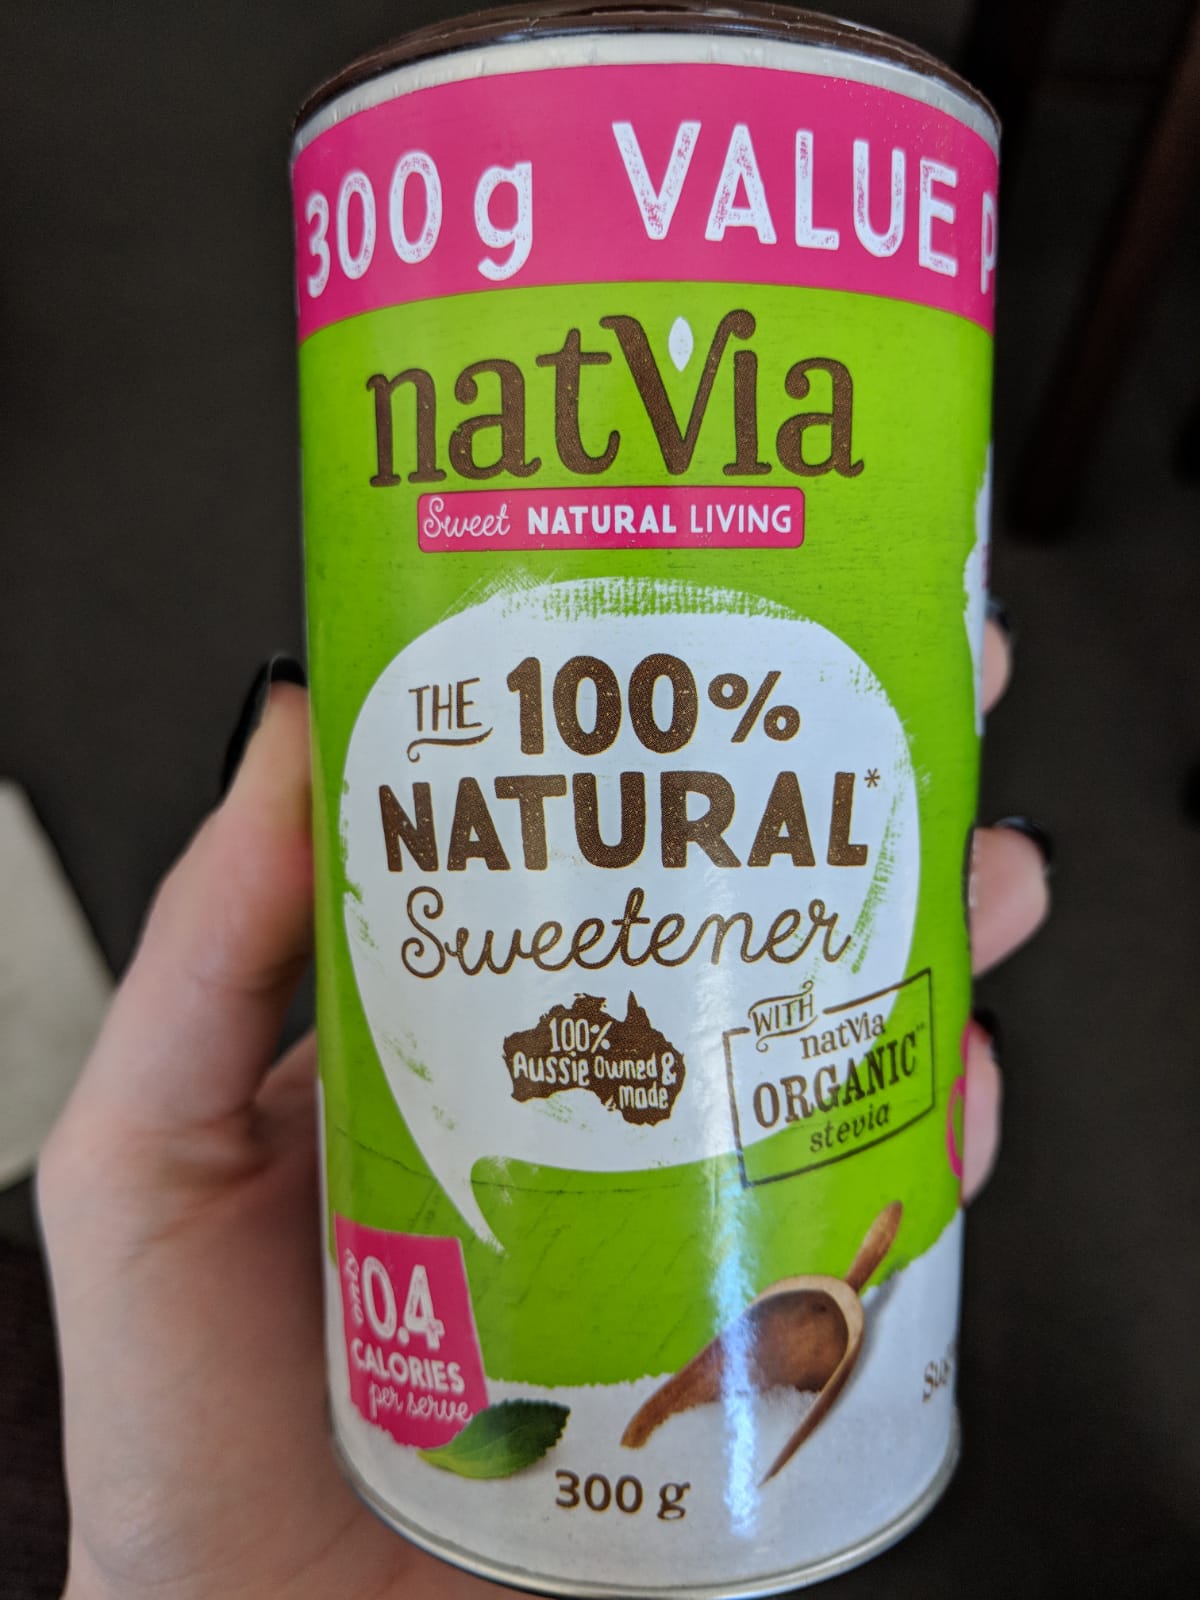
With my low-sugar or sugar-free recipes I replace the sugar with granulated natural sweetener (Natvia is my current preference). I feel that artificial sweeteners are a) too sweet and b) full of weird and wonderful chemicals that I would just rather steer clear of ( I also think they may be linked to many of my stomach issues in the past but we’ll leave that for another day!)

My favourite sugar alternative!

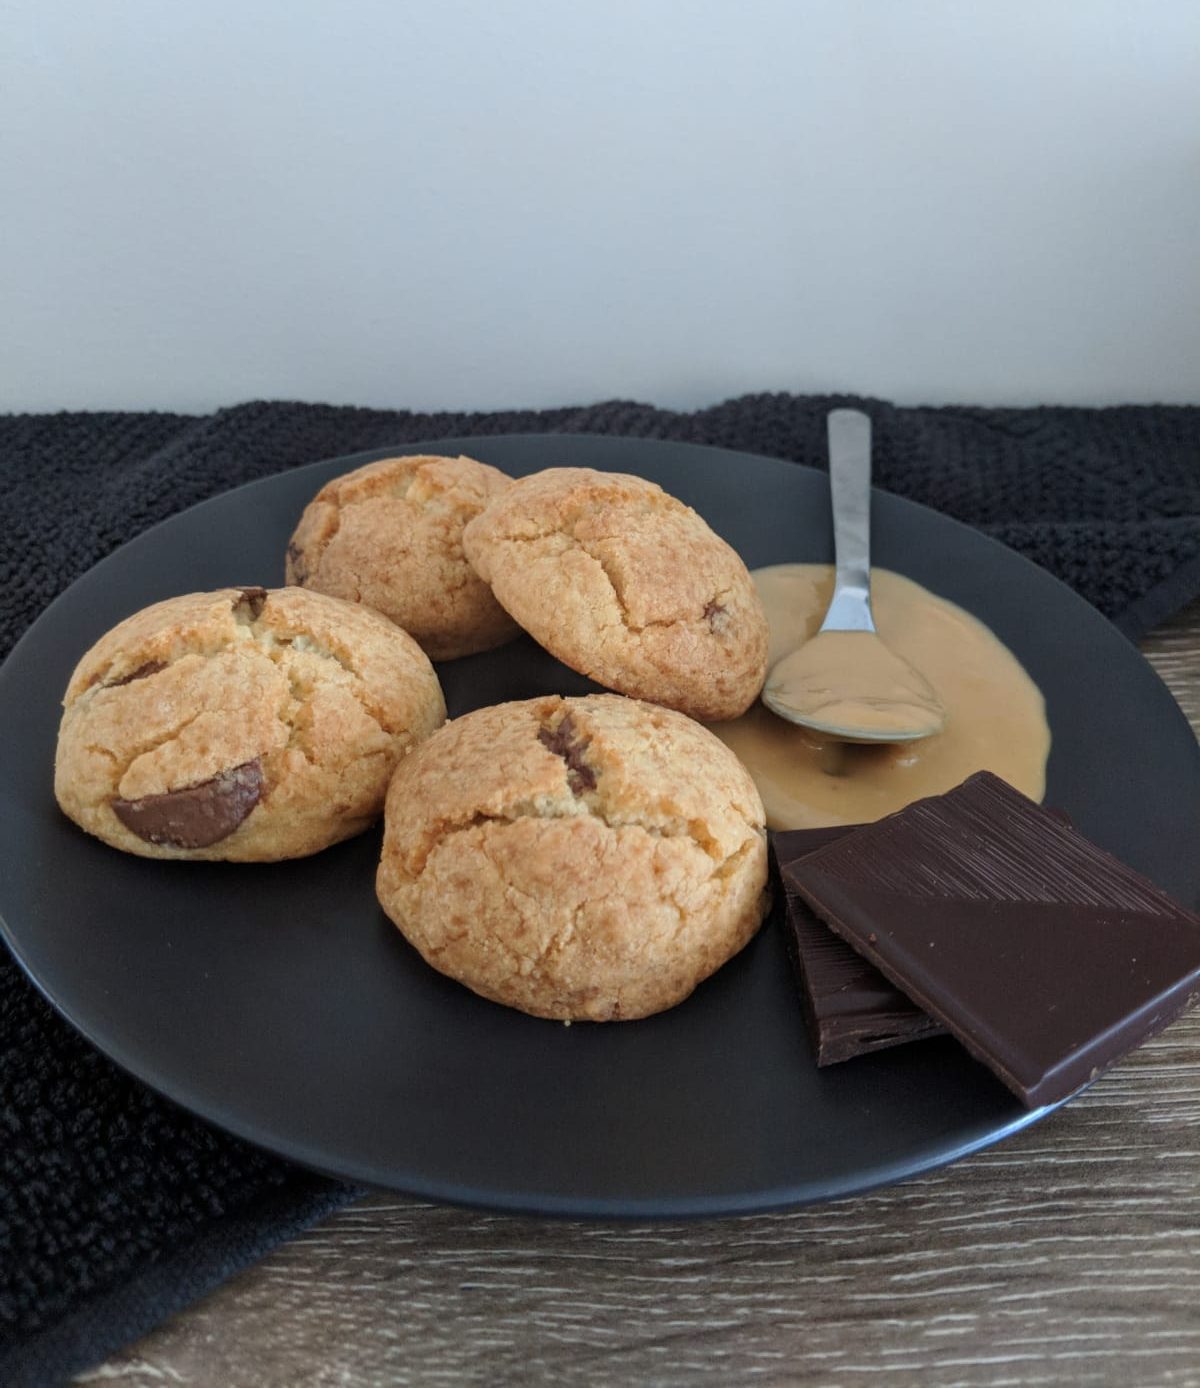
These cookies are super easy to make and bake in around 12-15 minutes. They will come out feeling way too soft, but harden up as they cool.

Boyfriend approved!

INGREDIENTS
3/4 Cup Granulated Nativa (or any granulated sweetener)
1/2 Cup Butter (Melted)
3/4 Cup Peanut Butter (Room Temperature)
1 Egg (Beaten)
1 1/2 Cups Gluten Free Self-Raising Flour Mix (I used Orgran)
1 tsp Vanilla Essence
1 tsp Gluten Free Baking Powder (I used McKenzie’s)
Handful Choc Chips

Mix, divide, roll and bake!

METHOD
1. Preheat oven to 180°C and line baking tray with baking paper.
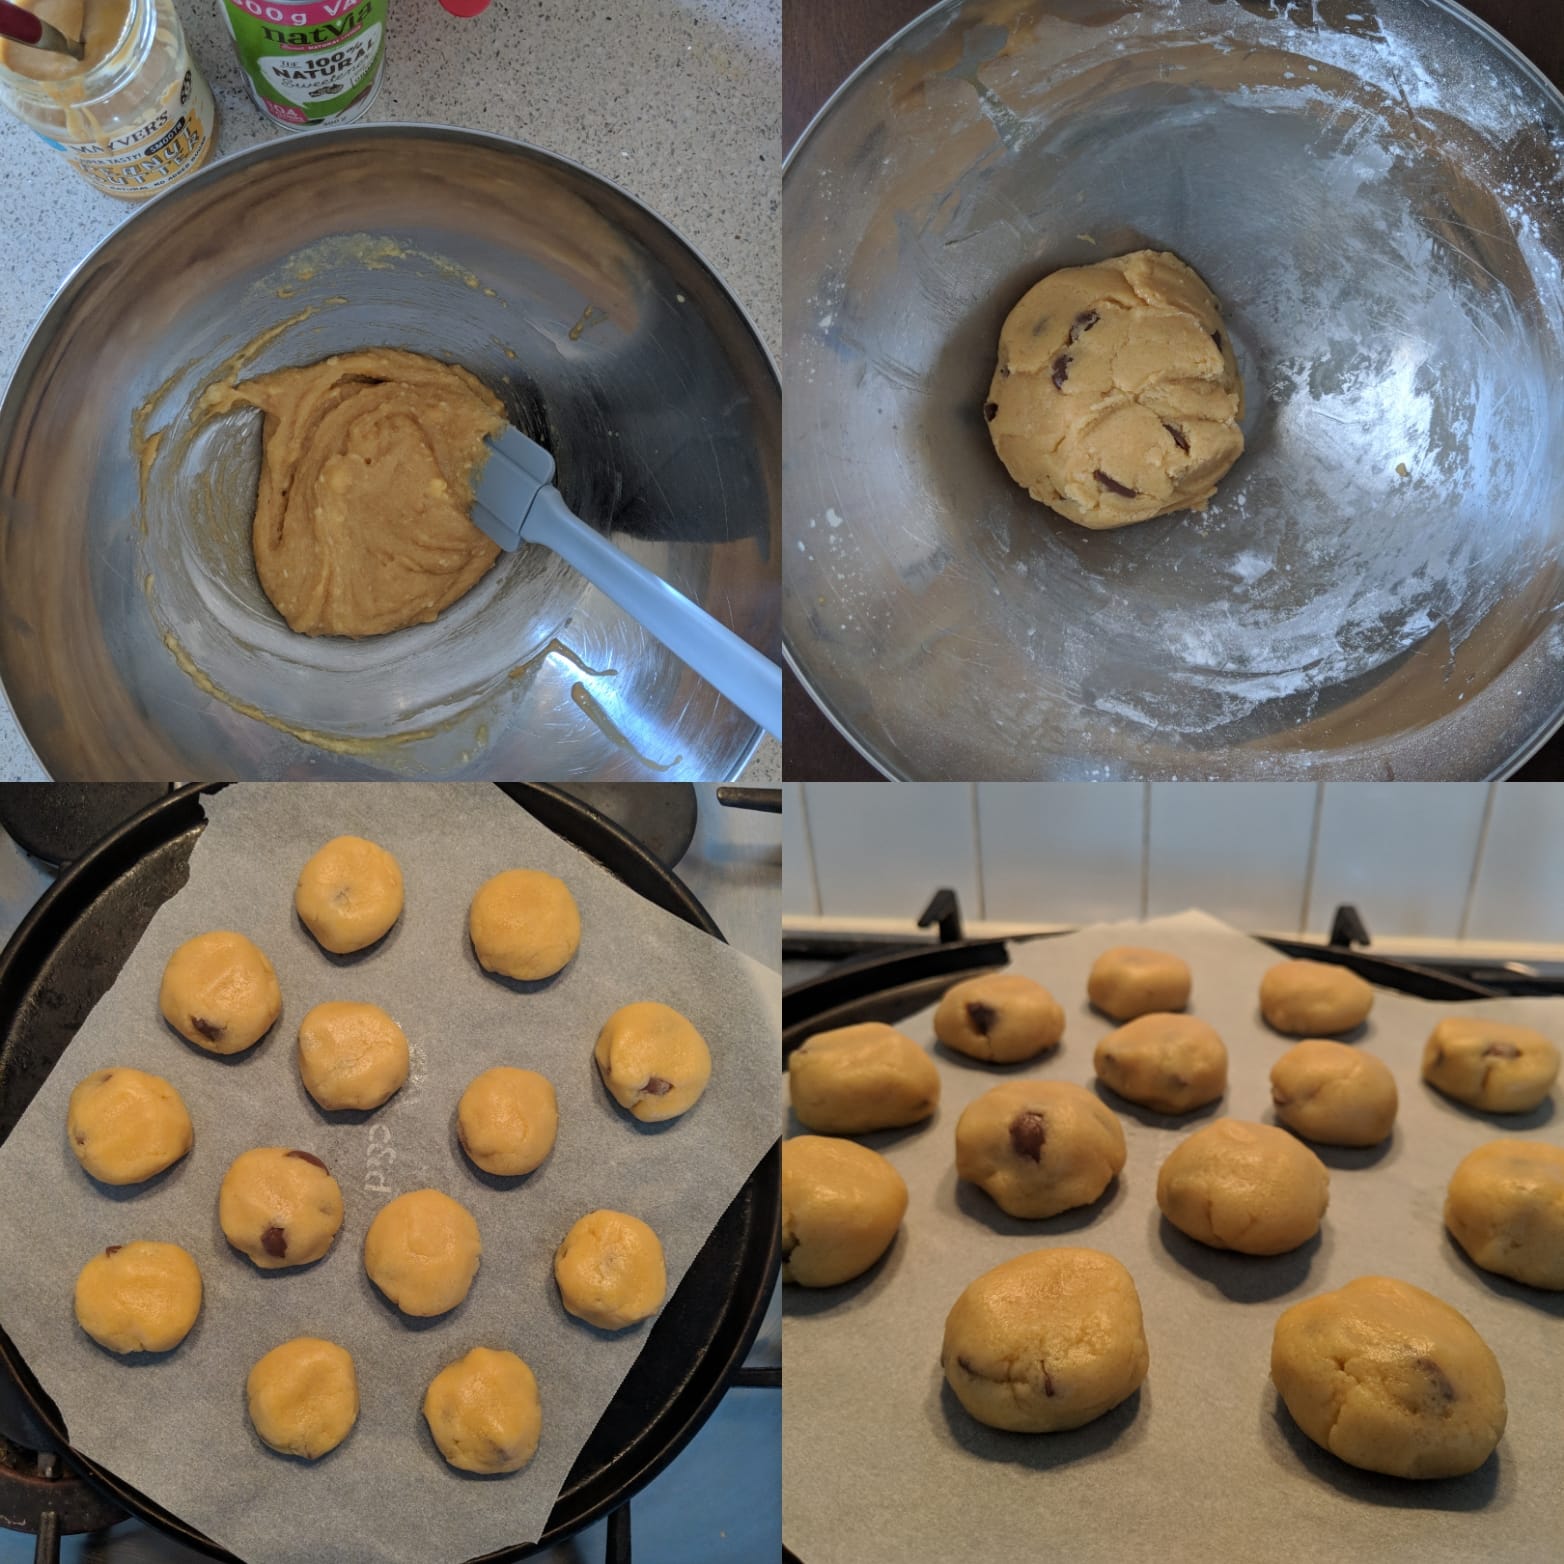
2. Add melted butter, beaten egg, vanilla essence and Natvia into a bowl and combine.
3. Add in the peanut butter and combine.
4. Sprinkle in the choc chips and mix throughout.
5. Sift in the flour and baking powder and mix well to form a soft dough.
6. Measure out a tablespoon of the dough and roll into a ball.
7. Place the ball onto the baking tray and press down lightly on top.
8. Repeat above until all the dough has been used – placing balls around 3cm apart.
9. Bake in the middle of the oven for around 12-15 minutes until golden brown.
10. Allow to cool before enjoying!

The end result!

Are you a fan of low-sugar or sugar-free baking? Do you feel it has helped you to manage your sugar cravings? I’d love to hear from you!

Happy baking! 🙂

I’m back!

Hello world! I can only apologise for the lack of posts (I mean, what’s 2 years between friends?) but I’m determined to get the blog back up and running with some regular content for my fellow readers.

So, what’s happened in 2 years? Well, a lot actually. I travelled to Sri Lanka, India, Myanmar and Laos on the way back to my beloved Australia; my long-term relationship ended and a new one has begun (hopefully also long-term); I’m on a quest to stay in Australia permanently and am currently undergoing the visa application process; and I’ve moved several times, not including in-between countries. Oh, and I’ve also acquired a cat. Phew! Time really has flown.

Overlooking the temples of Old Bagan, Myanmar

Note: I’ve just got back from a trip home to England for 3 weeks and am currently in my apartment in Brisbane, at 4am, writing this blog post whilst eating Schar Gluten Free Milk Chocolate Nobbles, drinking tea and being shaded by the cat for being up at such an ungodly hour.

Unimpressed with my jetlag. Introducing the cat with no face

Life’s thrown a lot of curveballs in the past two years and I’ve gone along with most of them – sometimes without choice and sometimes with somewhat of a desire for change. Approaching 30 I’m at the point in my life where I’m less phased by blocks in the road and am more open to trying something different. Some of these blocks or curveballs are incredibly sad and difficult to deal with (for example my Grandfather passing away just 2 weeks before I made it back to the UK) but some are also incredibly exciting and are leading to brand new chapters in my life (for example my new relationship). C’est la vie.

Why am I back? Writing a blog is something that I’ve always wanted to do (which can be seen by just how many different blogs I have) but I’m also terrible at finishing things (which can also be seen by just how many different blogs I have *hides face in shame*). One thing that has remained my passion throughout has always been food. If you’ve read the About Me page then you’ll know how my Coeliac diagnosis affected my diet and my lifestyle – mostly for the better. So, I’ll continue to update you with my delicious gluten-free discoveries, recipes and anything else that might be worth writing about. I’m determined to stick at it, keep motivated and treat my body and mind with the respect it so deserves.

Happy reading 😊

Gluten-free Cocoa Energy Balls

I’ve seen these little balls all over the internet and decided to try some for myself, however the majority of recipes use really expensive and hard-to-find ingredients so I decided to try a more affordable version. These energy balls are low in fat, affordable and packed with energy-boosting ingredients for a little lift when you need it most.
For this recipe, you’ll need a blender or a mini-chopper to make your own almond butter. This step takes a while but will make enough almond butter for 2 batches of balls. The more almonds you use, the more almond butter you’ll get!

Gluten-free Energy Balls

INGREDIENTS:
100g almonds
2 tbsp chia seeds
1 tsp vanilla
1/4 cup honey (Vegans can use maple syrup)
1/4 cup cocoa powder
1 cup gluten free oats
Pinch of salt

METHOD:

  1. First you will need to make your own almond butter. This takes a bit of patience but is worth it for the money-saving value! Evenly spread the almonds onto a baking tray (preferably lined with grease-proof paper) and roast in the oven at 180C for around 10 minutes until the almonds puff up and the oil starts to release. Take out of the oven to cool.
  2. Once cooled, add 1/3 of the almonds into your food processor and blend away! You will need to keep stopping every minute or so to scrape the almonds off the sides. Keep adding the remaining almonds in a bit at a time and blend until you achieve a smooth buttery paste.
  3. In a saucepan, melt the almond butter, vanilla and honey on a low heat. Once melted, add to the gluten-free oats in a large bowl and combined. Add the salt and chia seeds and mix together thoroughly until all the ingredients are combined.
  4. Roll the mixture into small 3-4cm balls and store in a air-tight container.

Perfect for a little afternoon boost!